
Ludoya Tickets lets Business tier groups sell paid admission to events entirely inside Ludoya — no external ticketing platform, and no redirect for the buyer. This page covers connecting Stripe, defining ticket types, tracking sales and refunds, and checking attendees in as an organizer, plus buying, holding, and using tickets as an attendee.
🚧 Rolling out gradually. Ticketing is live with a small number of venues while we make sure the money side is solid. If you're on Business and want it switched on for your account, get in touch — everything below is how it works once it is.
Connecting Stripe (Business Tier)
Before you can sell tickets, your group needs a connected Stripe account.
Setting Up
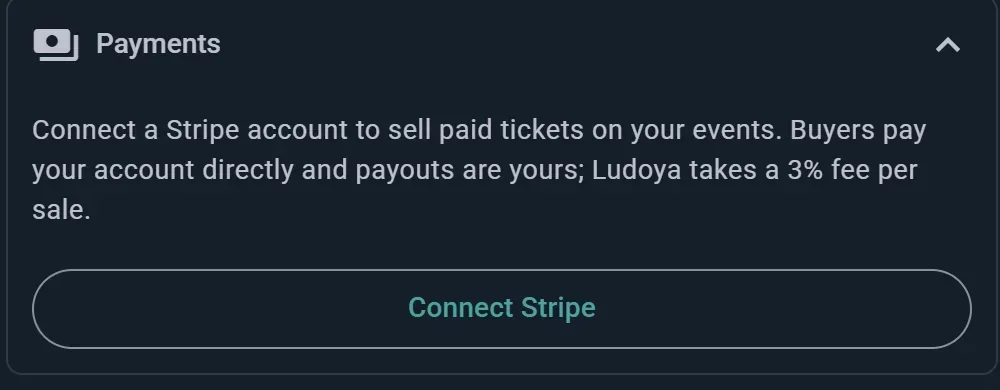
- Open Organization Setup for your group and expand the Payments section
- Click Connect Stripe
- Complete Stripe's own onboarding (business details, banking information, identity verification)
- Return to Ludoya — your status chip updates automatically
Connection Status
- Not Connected — no Stripe account linked yet
- Onboarding Started — you began Stripe's setup but haven't finished it
- Documents Needed — Stripe needs more verification before it can accept charges
- Ready — you can now offer Ludoya Tickets on your events
How the Money Works
You are the merchant of record for every sale — the buyer pays your Stripe account directly, so tax/VAT, disputes, chargebacks, and payouts are all yours, managed on your own Stripe dashboard.
The buyer pays exactly the ticket price you set. Nothing is added at checkout. Ludoya's 3% fee comes out of that amount before it reaches you, and Stripe's own processing fees are deducted as usual — so on a €10 ticket, €0.30 goes to Ludoya and the rest lands in your account minus Stripe's cut. If you want to cover those costs, build them into the price.
Setting Up Ticket Types
Once your account is Ready, choose Ludoya Tickets as the event's Attendance Mode when creating or editing an event — it replaces the RSVP button with Get Tickets for attendees.
Defining a Ticket Type
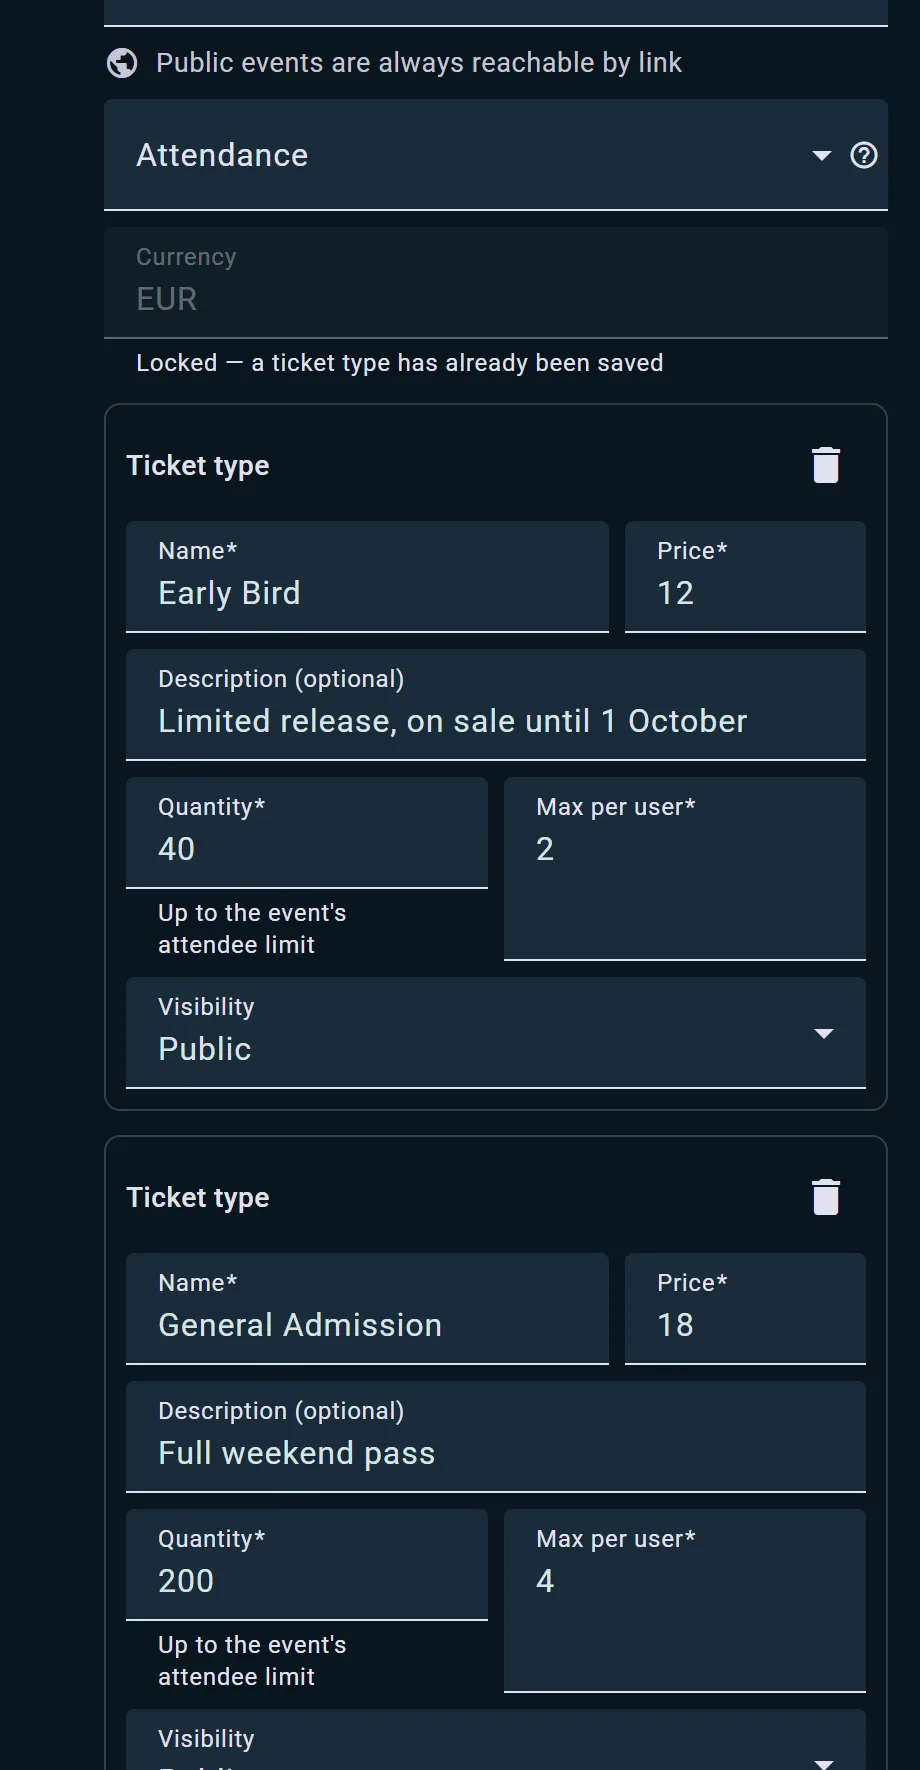
- Open your event and go to Ticket Types
- Click Add Ticket Type
- Enter a name and description
- Set a price and your event's currency — every ticket type on the same event shares one currency, since a purchase is a single payment
- Set the quantity available (can't exceed your event's attendee limit) and a max per person
- Choose visibility: Public, Group members only, or Access code (only people who enter the code can see and buy it)
- Save — repeat for as many ticket types as you need (e.g., "General", "VIP", "Kids")
Editing Prices
Changing a ticket type's price doesn't affect tickets already sold — buyers keep the price they paid at checkout. Ludoya handles this automatically behind the scenes.
Copies and Recurring Events
Ticket types carry over automatically when you copy an event or set up a recurring series, so you don't have to redefine them each time.
Selling and Tracking Sales
The Sales Panel
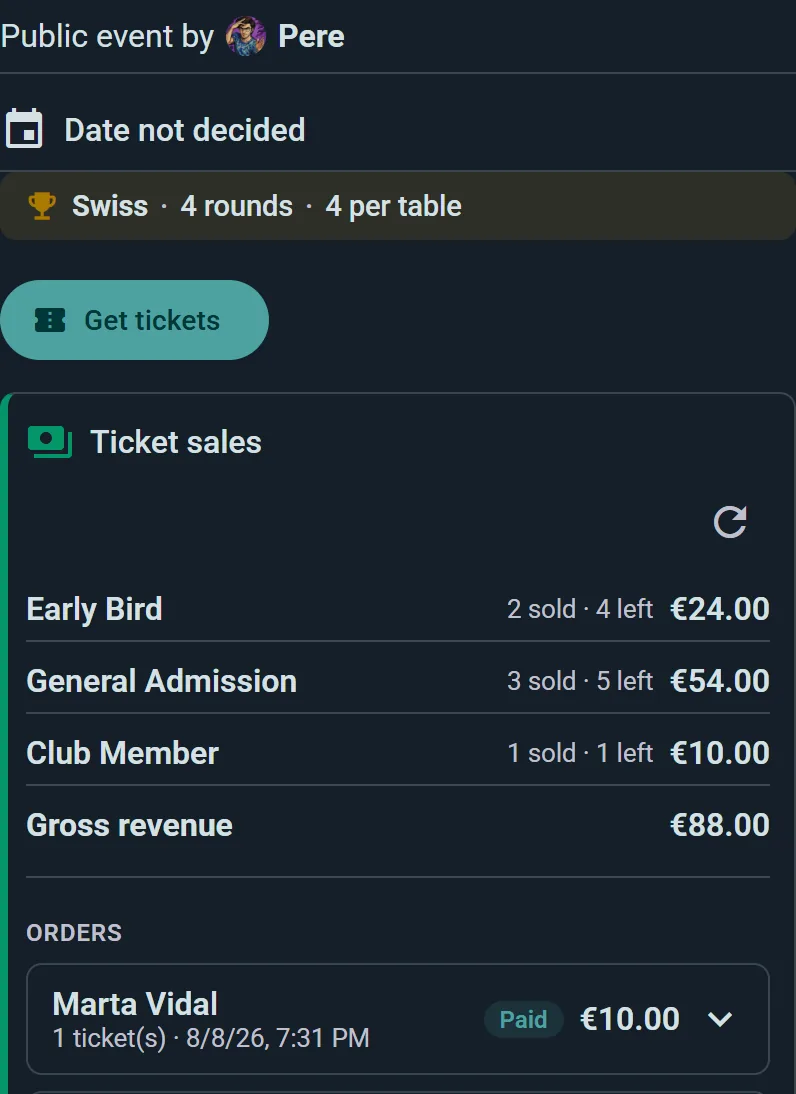
Open your event's Sales tab to see:
- Sold, remaining, and revenue per ticket type
- The full order list — buyer, how many tickets, attendee names, and status
- Your connected account's payout status
Issuing Refunds
- Open the Sales tab and find the order or ticket you want to refund
- Click Refund on a single ticket or on the whole order
- Confirm — the exact refund amount is shown before you confirm
- The ticket is marked voided once Stripe confirms the refund (usually within moments, not instantly)
Refunds happen entirely in Ludoya — you never need to open Stripe for a routine refund. Disputes and chargebacks, if they happen, are handled on your Stripe dashboard.
Refunds and Fees
When you issue a refund, the buyer gets the ticket price back and Ludoya's 3% service fee is returned to you — on a partial refund, the matching share of the fee comes back. Only Stripe's own processing fees are not returned, per Stripe's standard policy.
Late payments against an expired checkout hold are refunded automatically and in full, with no action from you. See The Checkout Hold below for how that window works.
Canceling a Ticketed Event
Canceling an event does not automatically refund anyone — the sales panel keeps working after cancelation precisely so you can refund buyers on your own terms. If you cancel an event that has sold tickets, open the Sales tab and refund the orders (individually or all of them) yourself. You also can't delete an event while it still has active or paid orders — refund every ticket first.
Checking Attendees In
Ticketed events use the same QR scanner as regular QR entry verification, upgraded to work per ticket:
- Open the event's QR scanner at the door
- Scan the attendee's ticket QR code
- Ludoya shows their name, ticket type, and how many of their order's tickets are already checked in (e.g., "2 of 3 checked in")
- Tap Check In to confirm — the ticket and the attendee's Showed Up status are both marked
Voided or unpaid tickets are rejected with a clear reason on the scanner screen. Each ticket in a group checks in independently, so a group can arrive together or split up without any trouble.
Buying Tickets
Getting Tickets
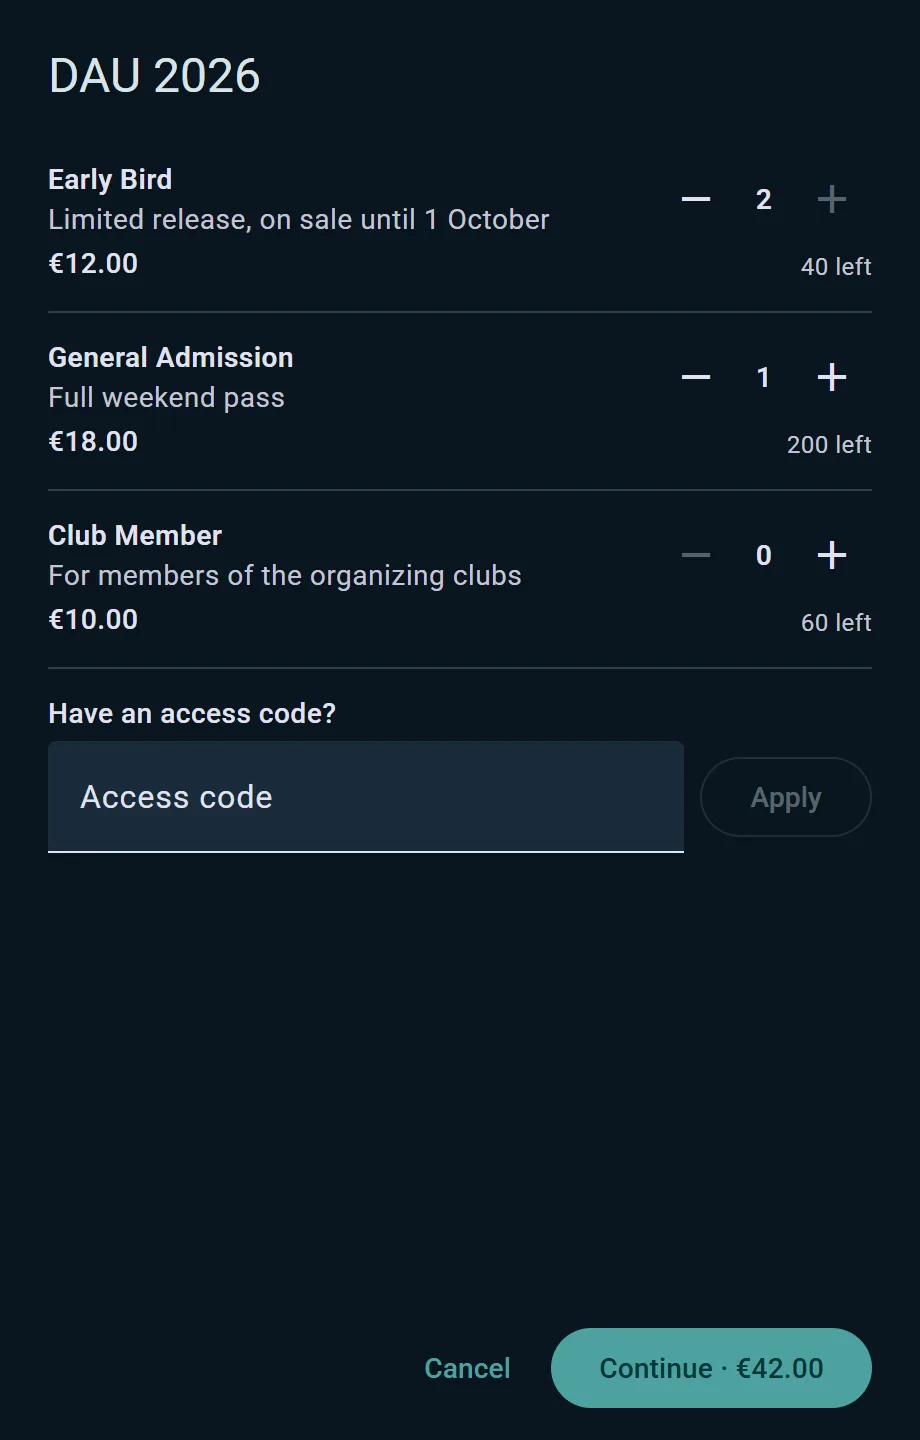
- Open the event page and tap Get Tickets
- Choose a quantity for each ticket type you want (enter an access code first if the organizer gave you one for a hidden type)
- Name each ticket — yourself, a friend's Ludoya account (search for them), or a guest name
- No account? Enter your name and email for a quick signup before paying
- Pay with a card right in the dialog — no redirect to another site
- Your tickets appear in your wallet within a few seconds
Your Ticket Wallet
All your tickets for an event — your own plus any you bought for friends — show up together as a stack of QR codes, each labeled with the attendee's name and ticket type. A ticket greys out once it's checked in or refunded, so you can see at a glance what's still valid.
Tickets for Friends and Guests
If you buy a ticket for a friend who has a Ludoya account, it also appears on their own event page.
You can also buy for someone who isn't on Ludoya at all — just give their name. Their ticket comes to you, not to them: your receipt email contains a separate link for every ticket in the order, so forward the right one and they can open their QR code without an account or a login. That also means you keep the whole order in your own wallet, which is usually what you want when you're buying for a group.
The Checkout Hold
Picking tickets reserves them for 30 minutes while you pay. If you don't finish in time the seats go back on sale, so someone else can have them rather than the event sitting half-blocked by abandoned baskets.
If a payment somehow completes after that window has closed, Ludoya refunds it in full automatically — you're never charged for a seat you didn't get.
Your Receipt
After paying, you get an email receipt with a summary of your order and a link to each individual ticket.