
2017 · Econòmic
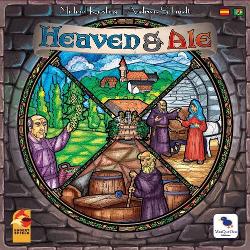
Heaven & Ale
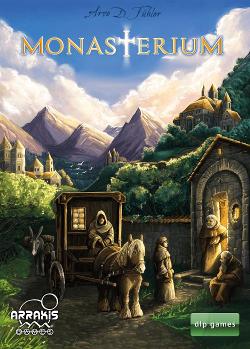
Gestiona un monestir i la seva cerveseria al llarg de diverses rondes, assignant monjos a tasques, cuidant l’hort i collint ingredients per a la cervesa. Els jugadors equilibren la col·locació de treballadors i la gestió de recursos per cultivar, reclutar ajudants, refinar ingredients amb un mestre cerveser i omplir barrils per obtenir punts. El moment i les millores són importants: inverteix en millores de l’hort i en una col·locació estratègica dels monjos per maximitzar el rendiment, mentre competeixes amb els altres per accions i recursos limitats.
- Jugadors
- 2–4 millor amb 4
- Durada
- 60–90 min
- Edat
- 12+
- Complexitat
- 3,2 / 5
Sobre el joc
- Publisher




Expansions
Veure-les a Ludoya
Fotos de taules de Ludoya
Totes les fotos a Ludoya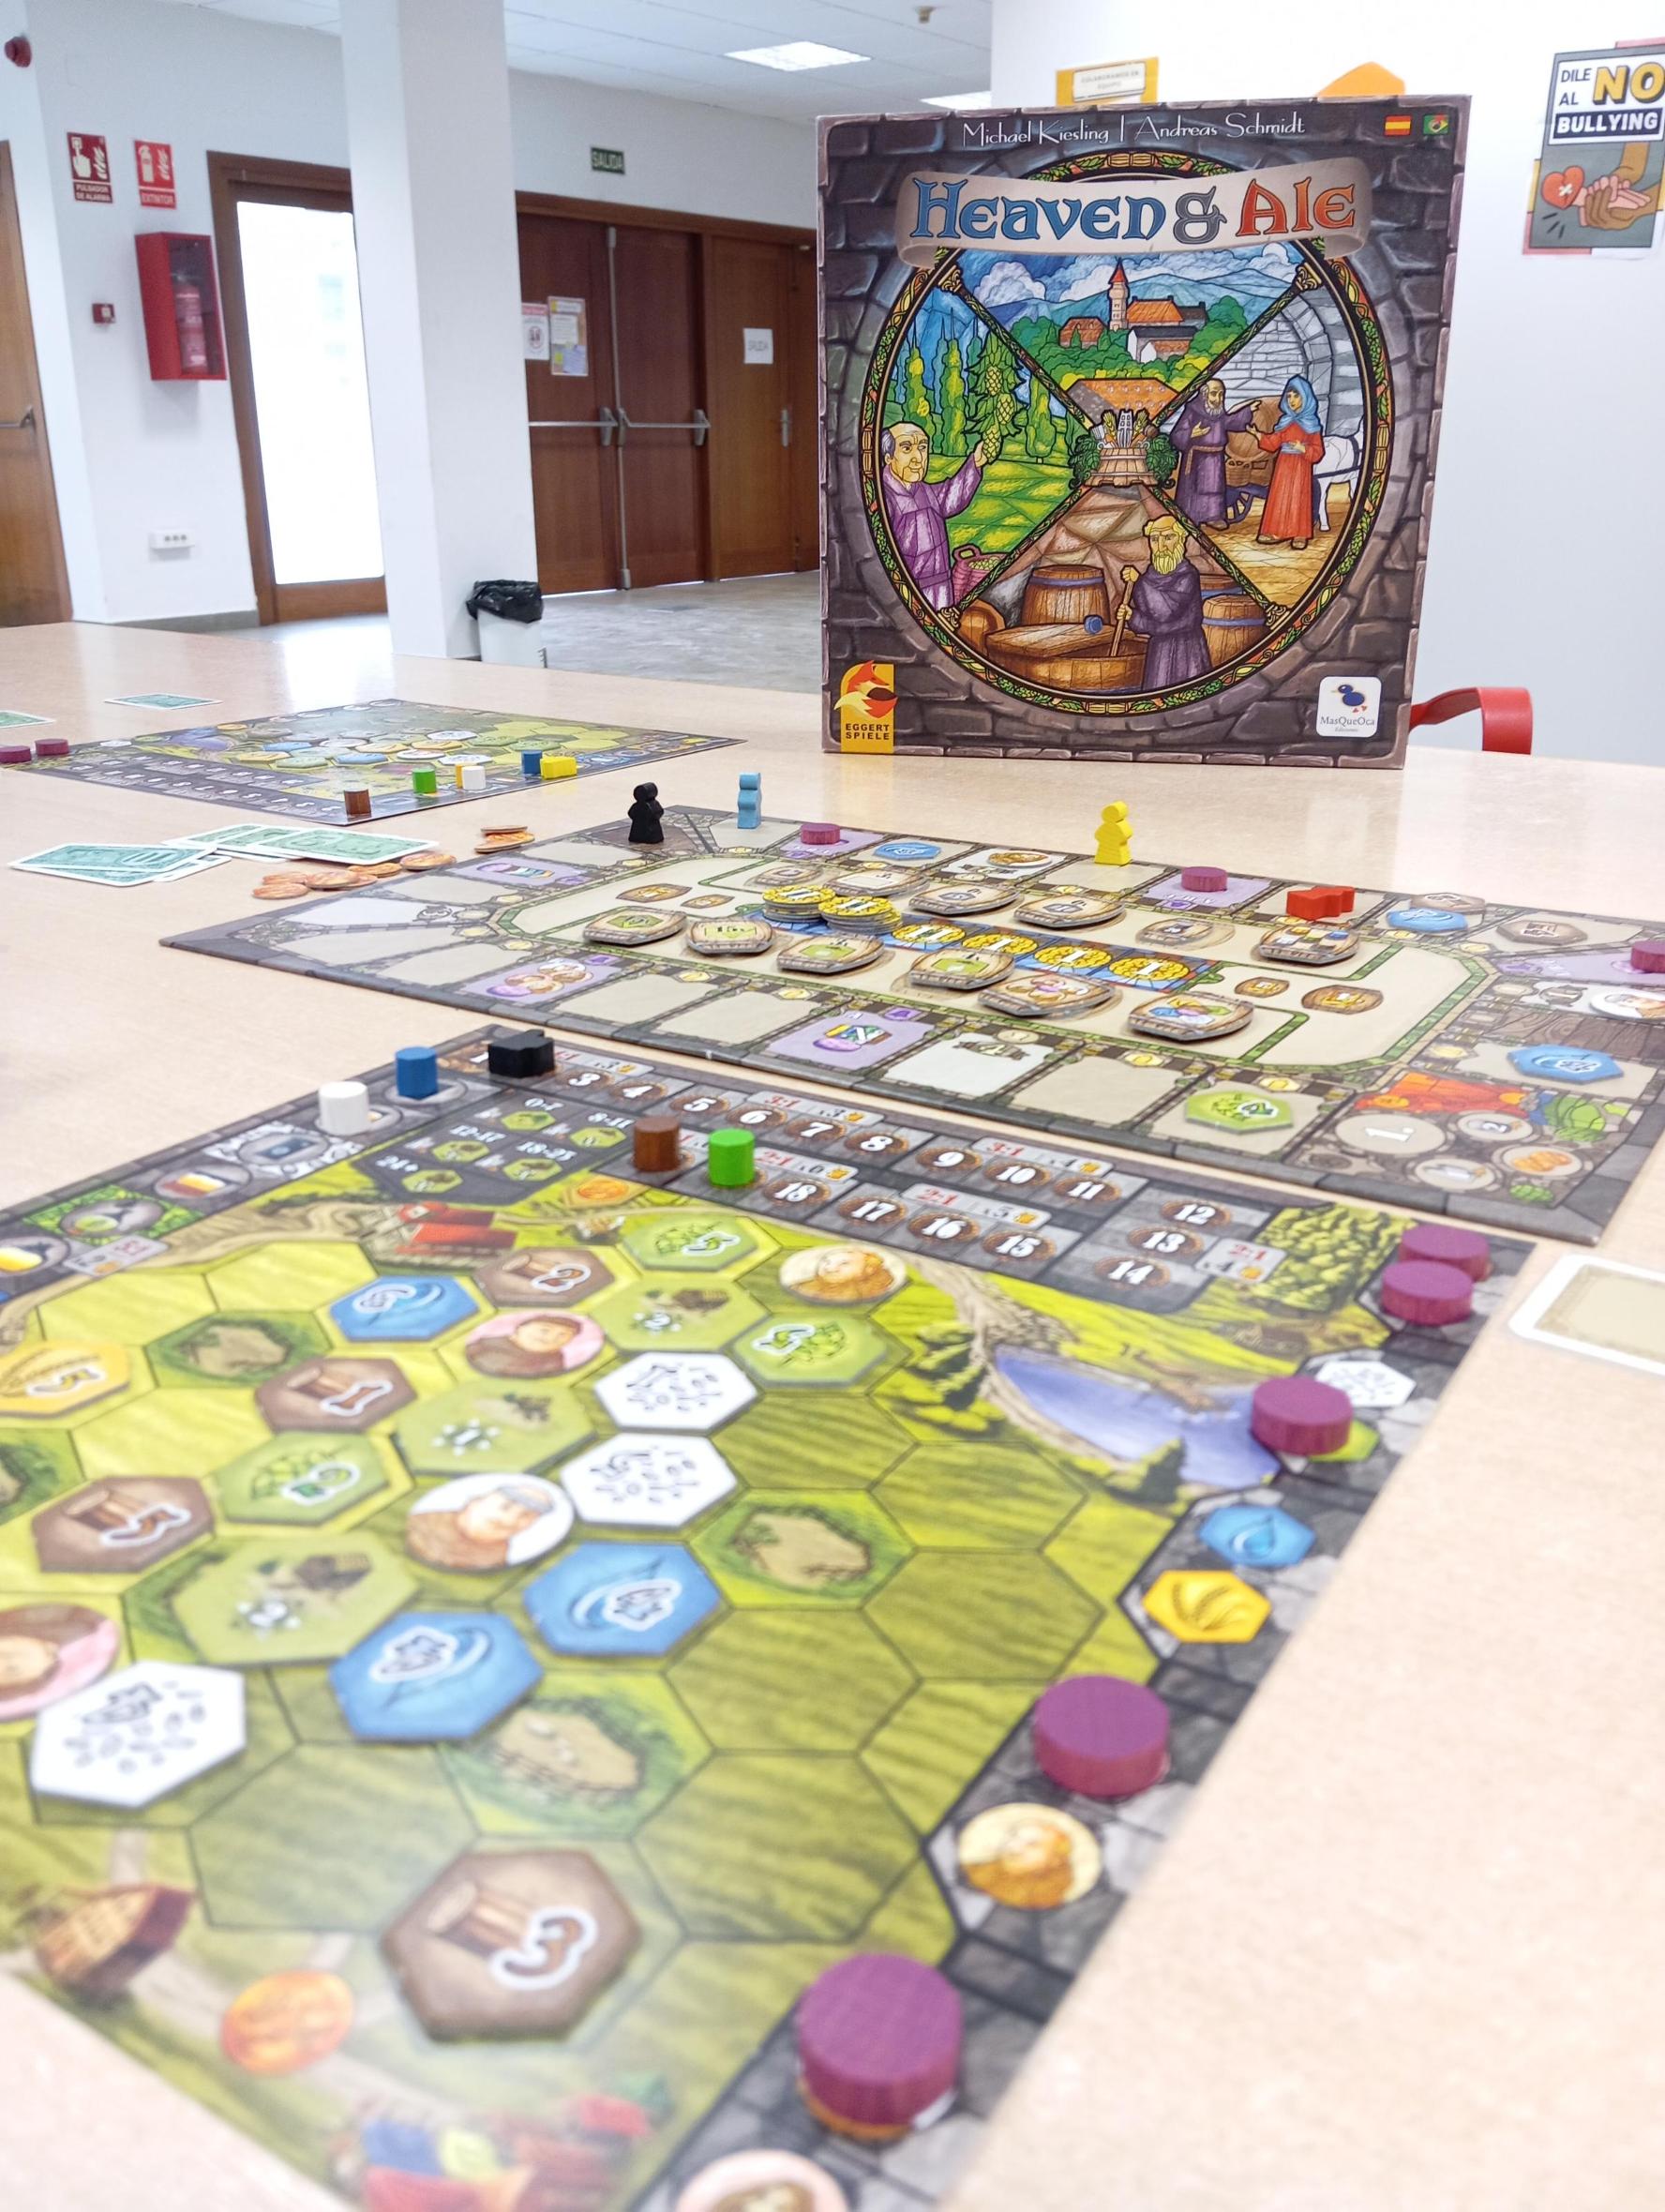
On comprar-lo
Preus de botigues i còpies de segona mà, revisats cada dia.
- Outlet GamesEn estoc41.07 €
- Dungeon MarvelsPreventa44.99 €
- La GameriaSense estoc49.95 €
- GameplayConsultar estoc49.95 €
- Travelling ManSense estoc29.99 £
- Svet deskovych herConsultar estoc890 Kč
A les taules de Ludoya
Totes les estadístiques a Ludoya- 188
- Partides registrades
- 263
- Jugadors
- 1h 24m
- Partida mitjana
- 63
- En col·leccions
- 16
- En llistes de desitjos
6,0/10
de 47 ressenyes a Ludoya
Martin Peral8,0 Juego muy sencillo de reglas, con algo de interacción para ser un multi solitario y bastante combero a medida que se va desatando el final de la partida y se activan los poderes de las fichas moradas.
Evan4,6 At the start of each round tiles are semi randomly distributed along a clockwise path around the board. On your turn you can jump your meeple clockwise to any open spot, buying the tile there. Once you reach the end of the track you pass for the rest of the round, so players might have more turns than you if you jump ahead for something juicy. When you claim a tile, you choose it's location on your personal board keeping in mind that once side of the board will give the tile the potential to produce money when scored yet the other gives you it's depicted resource when scored. Complicating your decision is that placing a tile on the resource production side costs twice as much. In addition to tile claim spaces, there are scoring opportunity spaces. When you claim a scoring opportunity space you take a scoring marker and place it on a feature along the side of your board, which causes the element you scored to produce money or resource steps depending on the side of the board it's placed into. The scoring markers remain in the space preventing you from scoring that feature in that same way in the future, so there's some pleasant tension between needing to score a type of good and falsely thinking maybe you have the time to grab just one more tile. To further complicate your planning, when a printed park spot on your board is surrounded by tiles, you get a bonus that re-activates some number of tiles around it depending on the sum of the numbers of it's surrounding tiles. Big rewards come from having either a very low or high sum but pulling either off requires focus from the very start of the game. Importantly, there is type of action space that allows you to pick up as many endgame scoring tiles from the center of the board as you have met the requirements for. Many of the requirements for the tiles can't be met until the last few rounds, and it doesn't feel great to have worked all game to be lined up for a bunch of them and the turn before you get the chance someone else hits the space and sweeps them up. The ultimate scoring key of the game is that you have to produce resources to move the matching markers up the track along your board. At the end of the game you trade resources on your track at a different rate depending on how far you got the brewmaster token and then you score points based on your lowest marker. Overall there's a lot to like about the process of the game, but it feels rough to misjudge how fast you need to move along the track to get what you need. The difference between getting the tile or scoring opportunity you needed vs having it sweeped up the turn before you are ready is the difference between being able to follow through with your plans or flailing uselessly. I'd be happier with the game if the severity was a little softer. ★ Art, Iconography and components functional ★ Clever or interesting mechanisms ★ Reasonably low downtime between turns with mildly AP players ☆ Multiple plays stay interesting ★ Low or mitigatable luck elements ★★☆☆☆ Raw enjoyment
Garfield4,0 #Farming Themeless. And at the end everyone wants to score, and if you can't you lose. [c] Theme: ★☆☆☆☆ <!-- size 7]Very abstract, I don't feel like a monk that is brewing beer --> Gameplay: ★★☆☆☆ <!-- size 7]Ok --> Interaction: ☆☆☆☆☆ <!-- size 7]I can't find any --> Artwork: ★★★☆☆ <!-- size 7]Nothing special --> Luck: ★☆☆☆☆ <!-- size 7]Tile drawing --> Strategy: ★★★★☆ <!-- size 7]If you don't have one, you will fail --> Components: ★★☆☆☆ <!-- size 7]Could be better --> Play duration: ★★★★☆ <!-- size 7]Good --> Easy to teach: ★★★☆☆ <!-- size 7]Ok --> Setup time: ★★★☆☆ <!-- size 7]Ok --> No downtime: ★★★☆☆ <!-- size 7]Depends, normally it plays quite quick --> Replay value: ★★★☆☆ <!-- size 7]Different strategies possible --> [/c]
Dubtes de regles
Respostes a partir del reglament per l'assistent de regles de Ludoya.
Puc moure la meva figura de jugador enrere o deixar-la on és al camí comú?
No: mai no pots moure la teva figura de jugador enrere ni deixar-la a la mateixa casella; durant el teu torn l’has de moure endavant com a mínim una casella (consulta la pàgina 3).
Puc moure’m a un espai de recurs/monjo puntuació/bóta on no hi hagi res per agafar o que no em pugui permetre fer?
No: no pots moure't a cap espai l'acció del qual no puguis dur a terme (per exemple, un espai de recursos o de monjos sense fitxes, un espai de disc de puntuació sense cap disc, o un espai de barril si no has assolit cap objectiu de barril) (vegeu la pàgina 3).
Com activen realment els discos de puntuació de les zones A, B i C les caselles del meu tauler de jugador?
Disc A: col·loca’l a l’espai de fitxa x, tria un número de fertilitat i activa totes les fitxes de recursos amb aquest número (ombra = monedes, sol = mou el marcador de recursos) (consulta la pàgina 4). Disc B: col·loca’l en un espai de monjo per activar tots els monjos d’aquest tipus; aquests activen les fitxes de recursos adjacents i poden encadenar-se amb els monjos adjacents (consulta la pàgina 5). Disc C: col·loca’l en un espai de recurs per activar totes les fitxes de recursos d’aquest color (consulta la pàgina 5).
Què passa exactament quan tanco un espai de cobert? Com es determina i s’aplica la recompensa?
Quan la col·locació d’una fitxa fa que els sis espais adjacents a un cobert quedin plens, l’encercles, sumes els números de fertilitat de les fitxes de recursos adjacents per obtenir la suma de fertilitat del cobert, després mous el teu mestre cerveser el nombre de passos indicat per a aquell interval i agafes la fitxa de cobert que s’hi mostra (que activa immediatament les fitxes adjacents segons les seves icones) (vegeu la pàgina 6).
Quan vaig a un espai de barrils, quins barrils puc reclamar i com es gestionen els barrils grans i petits?
Quan et mous a un espai de barril, agafes tots els barrils restants del centre els objectius dels quals has assolit; si el barril gran d’un objectiu encara està disponible, agafes el gran (si no, agafes el petit, tret que ja tinguis el seu equivalent gran), i només pots agafar barrils dels objectius que compleixis personalment (vegeu les pàgines 6 i 8).



Gratis, al web, Android i iOS
Juga a Heaven & Ale amb Ludoya
- Tingues-lo a la teva col·leccióControla la teva còpia i les seves expansions, deixa-la als amics o posa-la a la teva llista de desitjos i t'avisarem quan baixi de preu.Afegir-lo a la teva col·lecció
- Registra cada partidaPuntuacions, guanyadors, temporitzadors i fotos, i després les teves estadístiques: percentatge de victòries, nombre de jugadors preferit, millor puntuació.Registrar una partida
- Resol dubtes de reglesPregunta el que vulguis sobre les regles i obtén una resposta treta del reglament, amb la pàgina on comprovar-la.Preguntar a l'assistent de regles
- Troba gent amb qui jugar-hiClubs, nits de jocs i esdeveniments a prop teu que porten aquest joc a la taula.Veure esdeveniments
Dades del joc (jugadors, durada, edat, crèdits) de BoardGameGeek.