
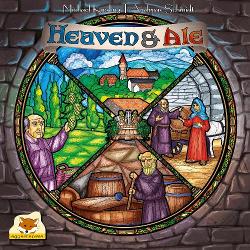
2017 · Economic
Heaven & Ale
Manage a monastery and its brewery across a series of rounds, assigning monks to tasks, tending the garden and harvesting ingredients for beer. Players balance worker placement and resource management to grow crops, recruit helpers, refine ingredients with a brewmaster, and fill barrels for scoring. Timing and upgrades matter: invest in garden improvements and strategic monk placement to maximize yields while competing with others for limited actions and resources.
- Players
- 2–4 best 4
- Playing time
- 60–90 min
- Age
- 12+
- Complexity
- 3.2 / 5
About the game
- Publisher




Expansions
See them in Ludoya
Photos from Ludoya tables
All photos in Ludoya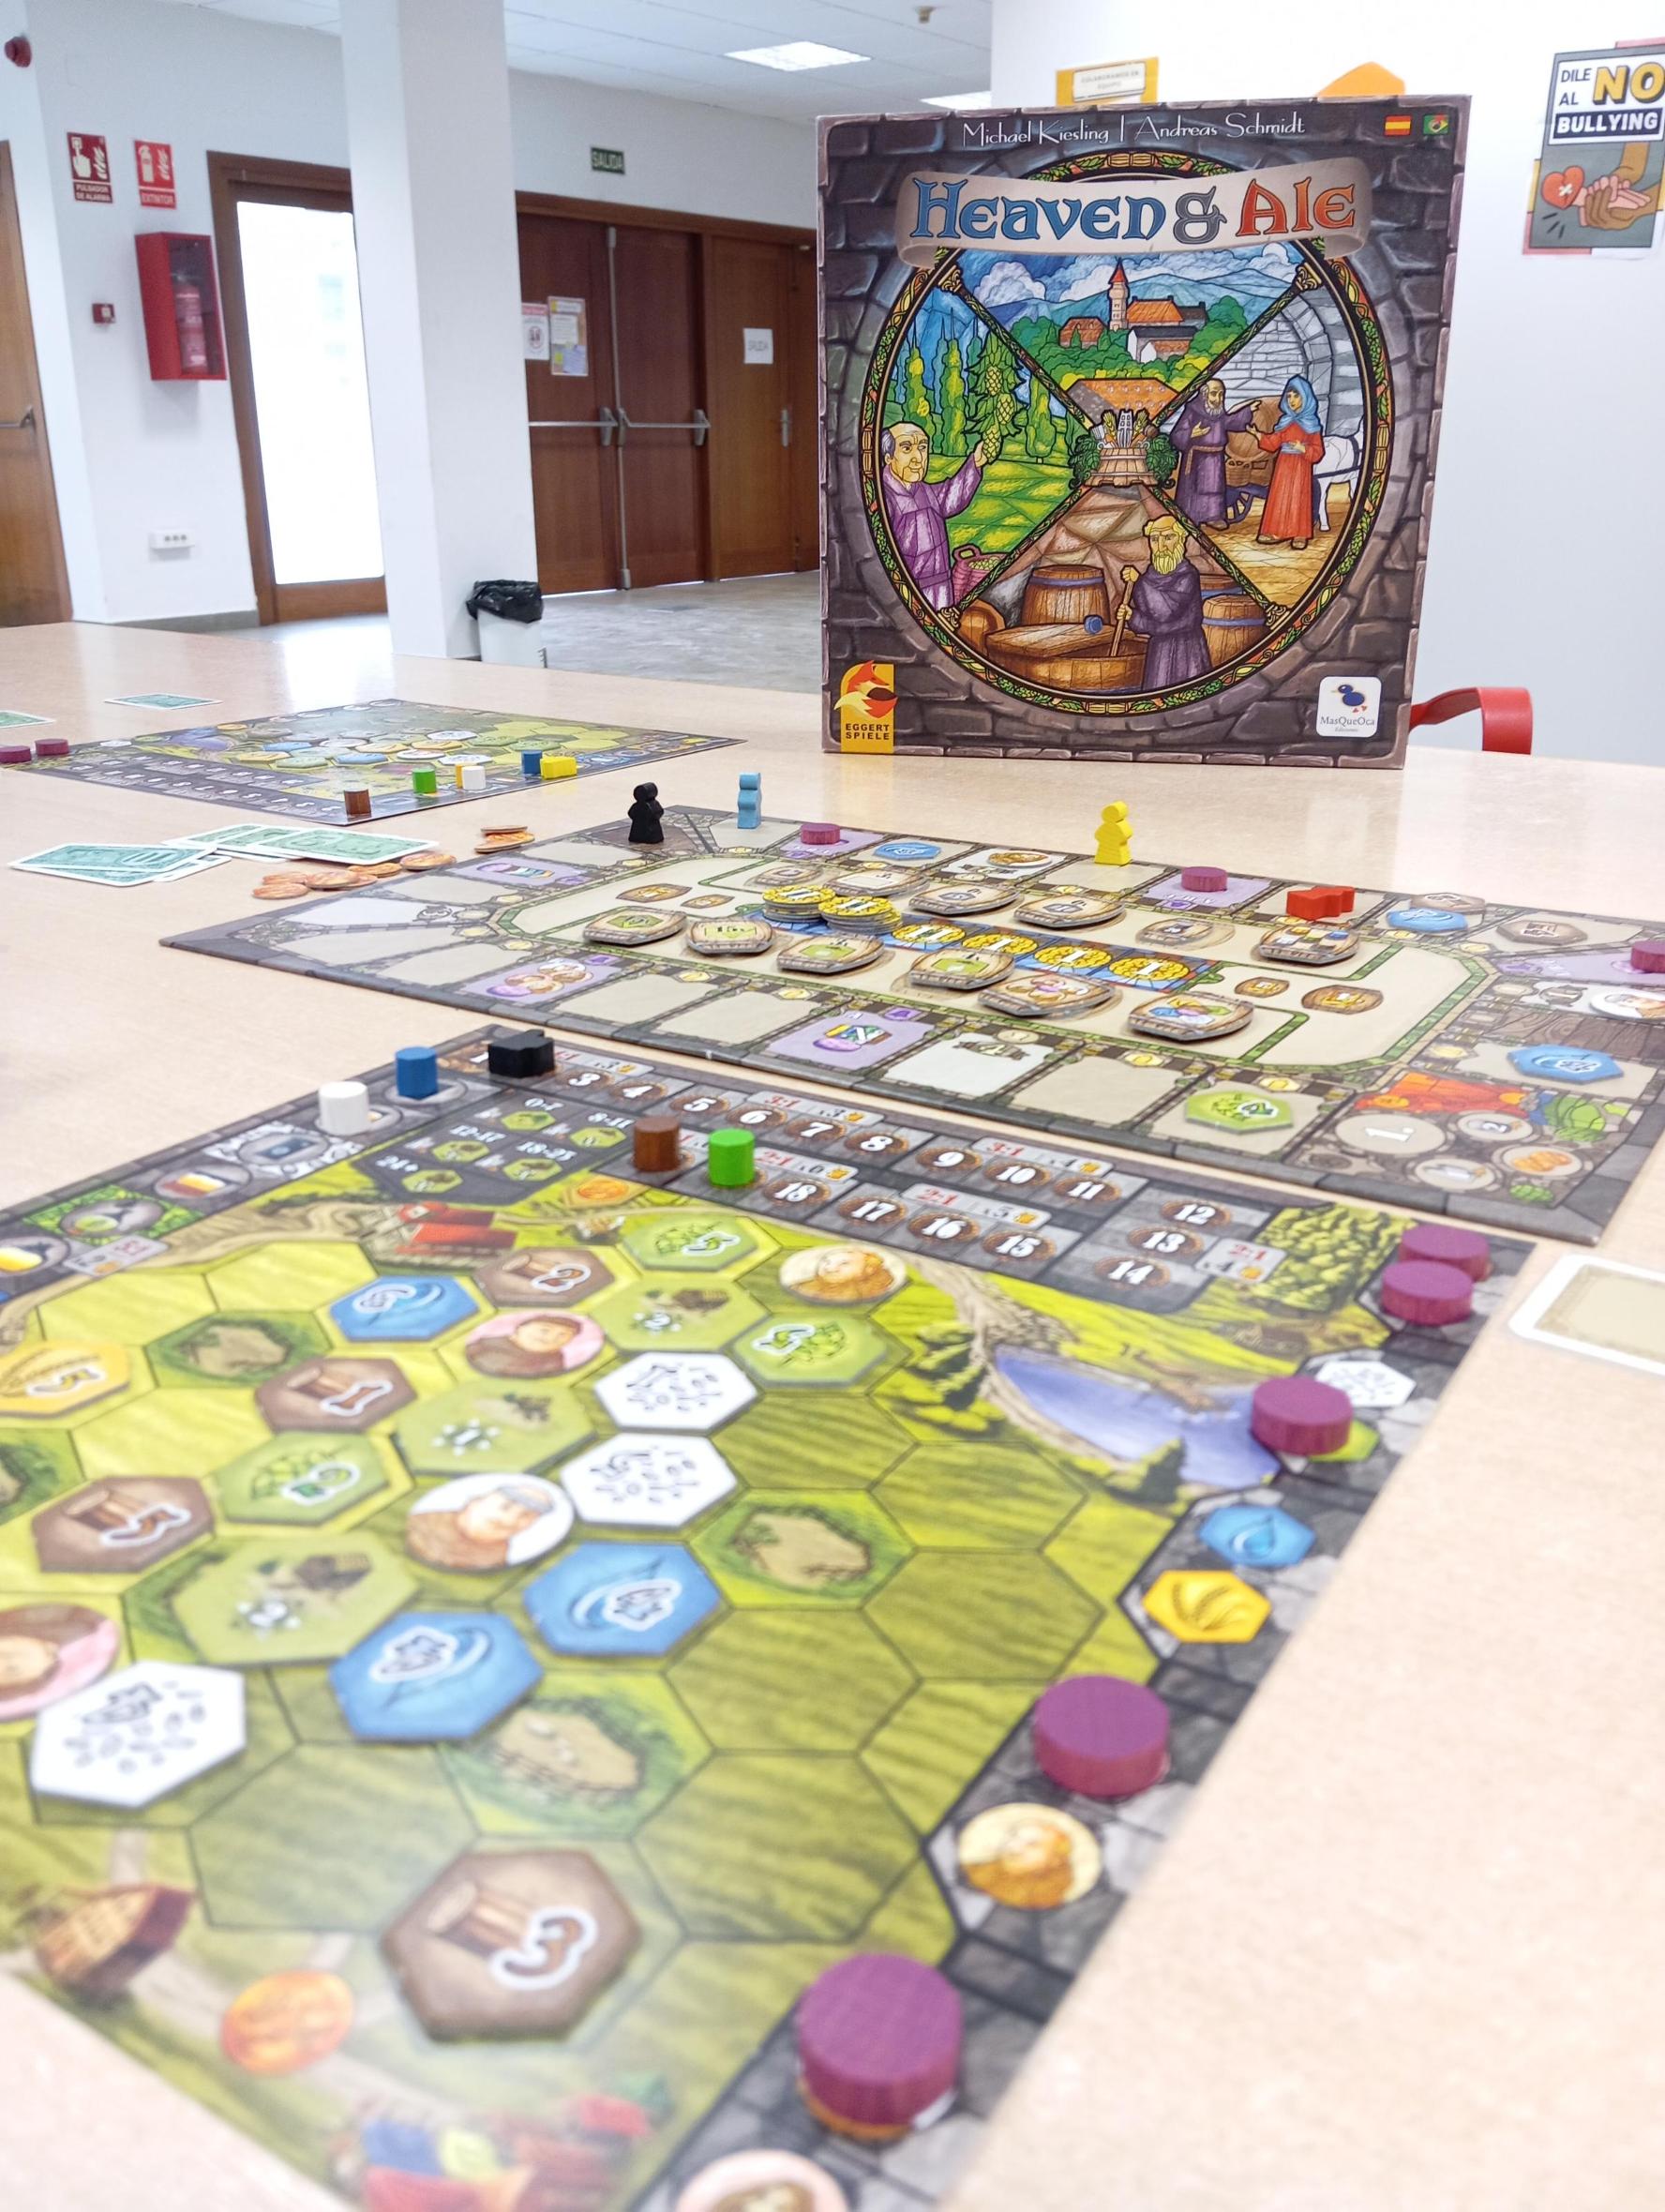
On Ludoya's tables
Full stats in Ludoya- 188
- Plays logged
- 263
- Players
- 1h 24m
- Average play
- 62
- In collections
- 16
- On wishlists
6.0/10
from 47 Ludoya reviews
Evan4.6 At the start of each round tiles are semi randomly distributed along a clockwise path around the board. On your turn you can jump your meeple clockwise to any open spot, buying the tile there. Once you reach the end of the track you pass for the rest of the round, so players might have more turns than you if you jump ahead for something juicy. When you claim a tile, you choose it's location on your personal board keeping in mind that once side of the board will give the tile the potential to produce money when scored yet the other gives you it's depicted resource when scored. Complicating your decision is that placing a tile on the resource production side costs twice as much. In addition to tile claim spaces, there are scoring opportunity spaces. When you claim a scoring opportunity space you take a scoring marker and place it on a feature along the side of your board, which causes the element you scored to produce money or resource steps depending on the side of the board it's placed into. The scoring markers remain in the space preventing you from scoring that feature in that same way in the future, so there's some pleasant tension between needing to score a type of good and falsely thinking maybe you have the time to grab just one more tile. To further complicate your planning, when a printed park spot on your board is surrounded by tiles, you get a bonus that re-activates some number of tiles around it depending on the sum of the numbers of it's surrounding tiles. Big rewards come from having either a very low or high sum but pulling either off requires focus from the very start of the game. Importantly, there is type of action space that allows you to pick up as many endgame scoring tiles from the center of the board as you have met the requirements for. Many of the requirements for the tiles can't be met until the last few rounds, and it doesn't feel great to have worked all game to be lined up for a bunch of them and the turn before you get the chance someone else hits the space and sweeps them up. The ultimate scoring key of the game is that you have to produce resources to move the matching markers up the track along your board. At the end of the game you trade resources on your track at a different rate depending on how far you got the brewmaster token and then you score points based on your lowest marker. Overall there's a lot to like about the process of the game, but it feels rough to misjudge how fast you need to move along the track to get what you need. The difference between getting the tile or scoring opportunity you needed vs having it sweeped up the turn before you are ready is the difference between being able to follow through with your plans or flailing uselessly. I'd be happier with the game if the severity was a little softer. :star: Art, Iconography and components functional :star: Clever or interesting mechanisms :star: Reasonably low downtime between turns with mildly AP players :nostar: Multiple plays stay interesting :star: Low or mitigatable luck elements :star::star::nostar::nostar::nostar: Raw enjoyment
Garfield4.0 #Farming Themeless. And at the end everyone wants to score, and if you can't you lose. [c] Theme: :star::nostar::nostar::nostar::nostar: <!-- size 7]Very abstract, I don't feel like a monk that is brewing beer --> Gameplay: :star::star::nostar::nostar::nostar: <!-- size 7]Ok --> Interaction: :nostar::nostar::nostar::nostar::nostar: <!-- size 7]I can't find any --> Artwork: :star::star::star::nostar::nostar: <!-- size 7]Nothing special --> Luck: :star::nostar::nostar::nostar::nostar: <!-- size 7]Tile drawing --> Strategy: :star::star::star::star::nostar: <!-- size 7]If you don't have one, you will fail --> Components: :star::star::nostar::nostar::nostar: <!-- size 7]Could be better --> Play duration: :star::star::star::star::nostar: <!-- size 7]Good --> Easy to teach: :star::star::star::nostar::nostar: <!-- size 7]Ok --> Setup time: :star::star::star::nostar::nostar: <!-- size 7]Ok --> No downtime: :star::star::star::nostar::nostar: <!-- size 7]Depends, normally it plays quite quick --> Replay value: :star::star::star::nostar::nostar: <!-- size 7]Different strategies possible --> [/c]
Martin Peral8.0 Juego muy sencillo de reglas, con algo de interacción para ser un multi solitario y bastante combero a medida que se va desatando el final de la partida y se activan los poderes de las fichas moradas.

Rules questions
Answered from the rulebook by Ludoya's rules assistant.
Can I move my player figure backwards or stay where it is on the common track?
No — you may never move your player figure backwards nor remain on the same space; on your turn you must move it forward at least one space (see page 3).
Can I move to a resource/monk/scoring/barrel space that has nothing to take or that I can't afford/do?
No — you may not move to any space whose action you are unable to perform (for example a resource or monk space with no tiles, a scoring disc space with no disc, or a barrel space if you haven't achieved any barrel goals) (see page 3).
How do scoring discs on A, B and C actually activate tiles on my player board?
A-disc: place on the x-tile spot, nominate a fertility number and activate all resource tiles with that number (shady = coins, sunny = move resource marker) (see page 4). B-disc: place on a monk spot to trigger all monks of that type, which activate adjacent resource tiles and can cascade to adjacent monks (see page 5). C-disc: place on a resource spot to activate all resource tiles of that colour (see page 5).
What exactly happens when I enclose a shed spot — how is the reward determined and applied?
When a tile placement causes all six spots adjacent to a shed to be filled you enclose it, sum the fertility numbers of adjacent resource tiles to get the shed fertility sum, then move your brewmaster the number of steps shown for that range and take the shed tile shown (which immediately activates adjacent tiles per its icons) (see page 6).
When I go to a barrel space which barrels can I claim and how are large vs small barrels handled?
When you move to a barrel space you take all remaining barrels in the centre whose goals you have achieved; if a goal's large barrel is still available you take the large (otherwise take the small unless you already have its large counterpart), and you may only take barrels whose goals you personally meet (see pages 6 and 8).



Free, on web, Android and iOS
Play Heaven & Ale with Ludoya
- Keep it in your collectionTrack your copy and its expansions, lend it to friends, or put it on your wishlist and get told when the price drops.Add it to your collection
- Log every playScores, winners, timers and photos, then your stats: win rate, favourite player count, best score.Log a play
- Settle rules questionsAsk anything about the rules and get an answer from the rulebook, with the page to check it on.Ask the rules assistant
- Find people to play it withClubs, game nights and events near you that bring this game to the table.See events
Game facts (players, playing time, age, credits) from BoardGameGeek.