
2017 · Economico
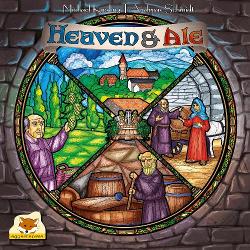
Heaven & Ale
Gestisci un monastero e il suo birrificio attraverso una serie di round, assegnando i monaci ai vari compiti, curando il giardino e raccogliendo ingredienti per la birra. I giocatori bilanciano il piazzamento dei lavoratori e la gestione delle risorse per coltivare, reclutare aiutanti, perfezionare gli ingredienti con un mastro birraio e riempire le botti per ottenere punti. Il tempismo e i potenziamenti sono fondamentali: investi nei miglioramenti del giardino e nel posizionamento strategico dei monaci per massimizzare i raccolti, mentre competi con gli altri per azioni e risorse limitate.
- Giocatori
- 2–4 ideale in 4
- Tempo di gioco
- 60–90 min
- Età
- 12+
- Complessità
- 3,2 / 5
Il gioco
- Illustrazioni
- Publisher




Espansioni
Vedile in Ludoya
Foto dai tavoli di Ludoya
Tutte le foto in Ludoya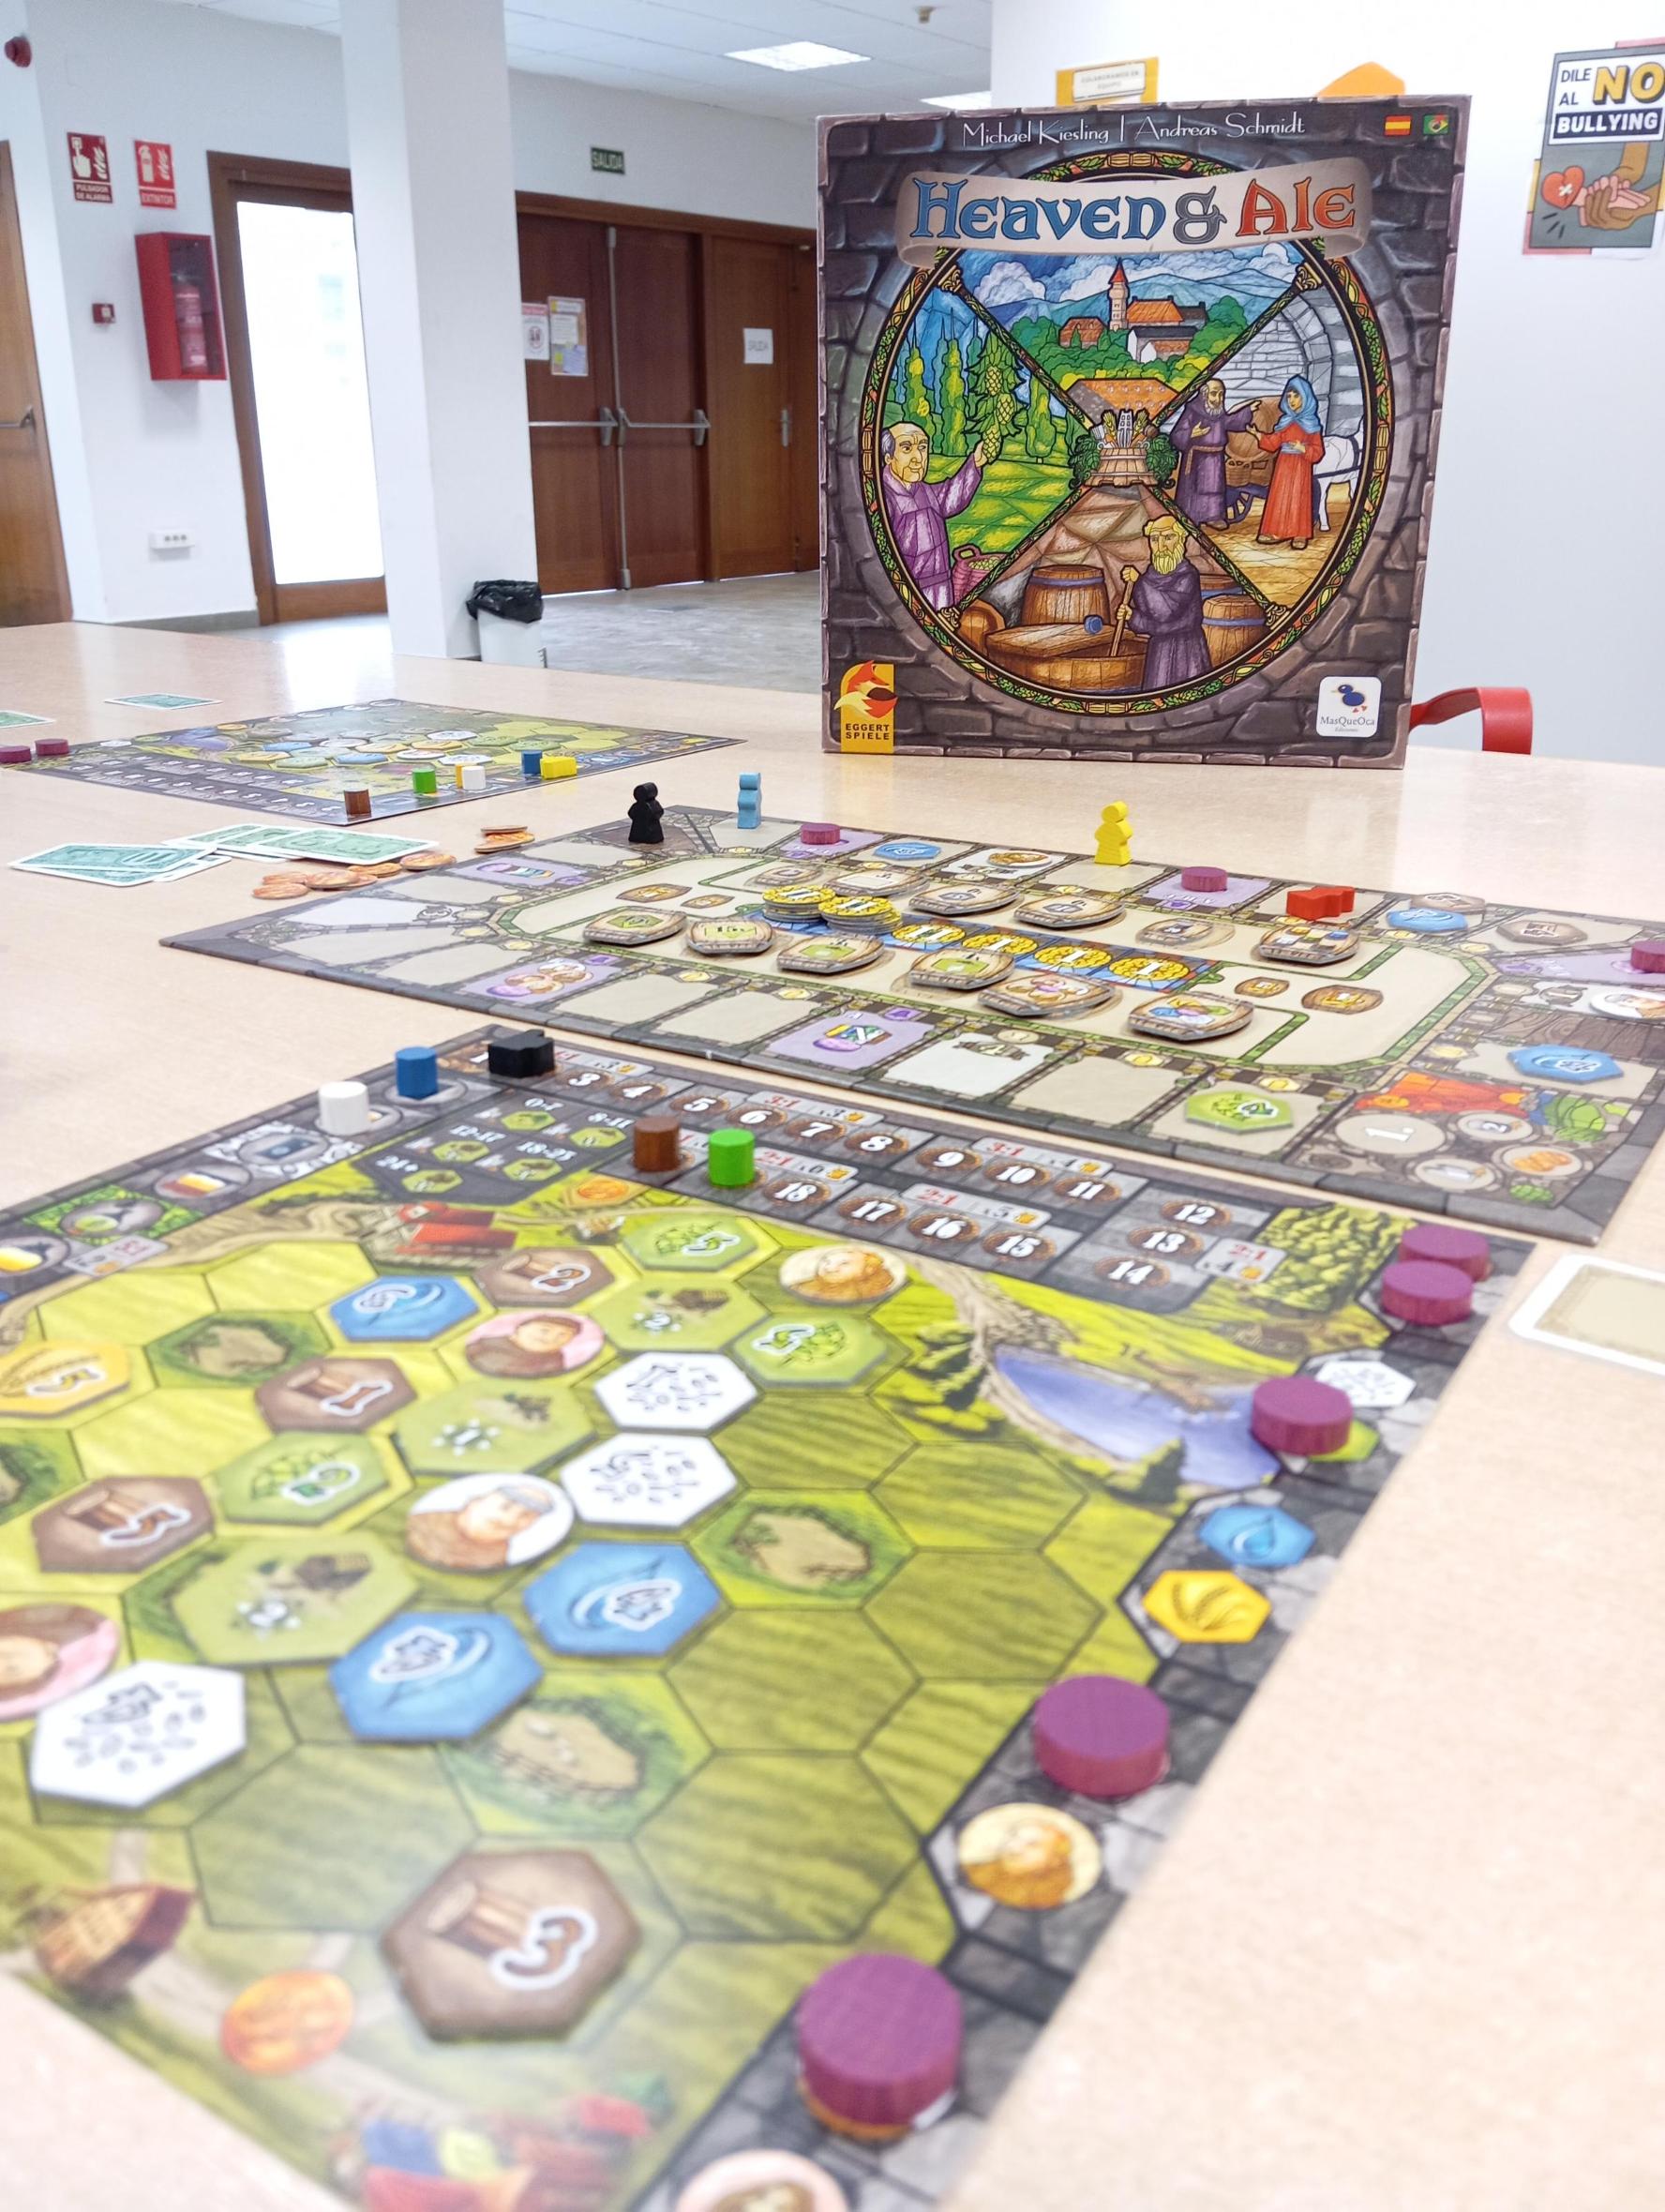
Dove comprarlo
Prezzi dei negozi e copie usate, controllati ogni giorno.
Sui tavoli di Ludoya
Tutte le statistiche in Ludoya- 188
- Partite registrate
- 263
- Giocatori
- 1h 24m
- Partita media
- 63
- Nelle ludoteche
- 16
- Nelle liste dei desideri
6,0/10
da 47 recensioni Ludoya
Martin Peral8,0 Juego muy sencillo de reglas, con algo de interacción para ser un multi solitario y bastante combero a medida que se va desatando el final de la partida y se activan los poderes de las fichas moradas.
Evan4,6 At the start of each round tiles are semi randomly distributed along a clockwise path around the board. On your turn you can jump your meeple clockwise to any open spot, buying the tile there. Once you reach the end of the track you pass for the rest of the round, so players might have more turns than you if you jump ahead for something juicy. When you claim a tile, you choose it's location on your personal board keeping in mind that once side of the board will give the tile the potential to produce money when scored yet the other gives you it's depicted resource when scored. Complicating your decision is that placing a tile on the resource production side costs twice as much. In addition to tile claim spaces, there are scoring opportunity spaces. When you claim a scoring opportunity space you take a scoring marker and place it on a feature along the side of your board, which causes the element you scored to produce money or resource steps depending on the side of the board it's placed into. The scoring markers remain in the space preventing you from scoring that feature in that same way in the future, so there's some pleasant tension between needing to score a type of good and falsely thinking maybe you have the time to grab just one more tile. To further complicate your planning, when a printed park spot on your board is surrounded by tiles, you get a bonus that re-activates some number of tiles around it depending on the sum of the numbers of it's surrounding tiles. Big rewards come from having either a very low or high sum but pulling either off requires focus from the very start of the game. Importantly, there is type of action space that allows you to pick up as many endgame scoring tiles from the center of the board as you have met the requirements for. Many of the requirements for the tiles can't be met until the last few rounds, and it doesn't feel great to have worked all game to be lined up for a bunch of them and the turn before you get the chance someone else hits the space and sweeps them up. The ultimate scoring key of the game is that you have to produce resources to move the matching markers up the track along your board. At the end of the game you trade resources on your track at a different rate depending on how far you got the brewmaster token and then you score points based on your lowest marker. Overall there's a lot to like about the process of the game, but it feels rough to misjudge how fast you need to move along the track to get what you need. The difference between getting the tile or scoring opportunity you needed vs having it sweeped up the turn before you are ready is the difference between being able to follow through with your plans or flailing uselessly. I'd be happier with the game if the severity was a little softer. ★ Art, Iconography and components functional ★ Clever or interesting mechanisms ★ Reasonably low downtime between turns with mildly AP players ☆ Multiple plays stay interesting ★ Low or mitigatable luck elements ★★☆☆☆ Raw enjoyment
Garfield4,0 #Farming Themeless. And at the end everyone wants to score, and if you can't you lose. [c] Theme: ★☆☆☆☆ <!-- size 7]Very abstract, I don't feel like a monk that is brewing beer --> Gameplay: ★★☆☆☆ <!-- size 7]Ok --> Interaction: ☆☆☆☆☆ <!-- size 7]I can't find any --> Artwork: ★★★☆☆ <!-- size 7]Nothing special --> Luck: ★☆☆☆☆ <!-- size 7]Tile drawing --> Strategy: ★★★★☆ <!-- size 7]If you don't have one, you will fail --> Components: ★★☆☆☆ <!-- size 7]Could be better --> Play duration: ★★★★☆ <!-- size 7]Good --> Easy to teach: ★★★☆☆ <!-- size 7]Ok --> Setup time: ★★★☆☆ <!-- size 7]Ok --> No downtime: ★★★☆☆ <!-- size 7]Depends, normally it plays quite quick --> Replay value: ★★★☆☆ <!-- size 7]Different strategies possible --> [/c]
Domande sulle regole
Risposte tratte dal regolamento dall'assistente per le regole di Ludoya.
Posso muovere la mia pedina all’indietro o lasciarla dov’è sul percorso comune?
No: non puoi mai spostare la tua pedina all’indietro né lasciarla sulla stessa casella; durante il tuo turno devi spostarla in avanti di almeno una casella (vedi pagina 3).
Posso spostarmi su uno spazio risorsa/monaco/punteggio/barile dove non c’è nulla da prendere o che non posso permettermi/fare?
No: non puoi spostarti su uno spazio la cui azione non sei in grado di eseguire (per esempio, uno spazio risorsa o monaco senza tessere, uno spazio disco segnapunti senza disco, oppure uno spazio botte se non hai raggiunto alcun obiettivo botte) (vedi pagina 3).
In che modo i dischetti del punteggio su A, B e C attivano effettivamente le tessere sulla mia plancia giocatore?
Disco A: posizionalo sullo spazio tessera x, assegna un numero di fertilità e attiva tutte le tessere risorsa con quel numero (ombreggiato = monete, soleggiato = sposta il segnalino risorsa) (vedi pagina 4). Disco B: posizionalo su uno spazio monaco per attivare tutti i monaci di quel tipo, che attivano le tessere risorsa adiacenti e possono innescare una reazione a catena con i monaci adiacenti (vedi pagina 5). Disco C: posizionalo su uno spazio risorsa per attivare tutte le tessere risorsa di quel colore (vedi pagina 5).
Cosa succede esattamente quando circondo uno spazio per il capanno: come viene determinata e applicata la ricompensa?
Quando il piazzamento di una tessera fa sì che tutti e sei gli spazi adiacenti a un capanno siano occupati, lo si chiude; somma i numeri di fertilità delle tessere risorsa adiacenti per ottenere il totale di fertilità del capanno, poi fai avanzare il tuo mastro birraio del numero di passi indicato per quell'intervallo e prendi la tessera capanno mostrata (che attiva immediatamente le tessere adiacenti secondo le sue icone) (vedi pagina 6).
Quando arrivo su uno spazio barile, quali barili posso reclamare e come vengono gestiti i barili grandi rispetto a quelli piccoli?
Quando ti sposti su uno spazio barile, prendi tutti i barili rimanenti al centro i cui obiettivi hai raggiunto; se il barile grande di un obiettivo è ancora disponibile, prendi quello grande (altrimenti prendi quello piccolo, a meno che tu non abbia già il suo corrispondente grande), e puoi prendere solo i barili degli obiettivi che soddisfi personalmente (vedi pagine 6 e 8).





Gratis, sul web, Android e iOS
Gioca a Heaven & Ale con Ludoya
- Tienilo nella tua ludotecaTieni traccia della tua copia e delle sue espansioni, prestala agli amici o mettila nella lista dei desideri e ricevi un avviso quando il prezzo scende.Aggiungilo alla tua ludoteca
- Registra ogni partitaPunteggi, vincitori, timer e foto, poi le tue statistiche: percentuale di vittorie, numero di giocatori preferito, miglior punteggio.Registra una partita
- Risolvi i dubbi sulle regoleChiedi qualsiasi cosa sulle regole e ottieni una risposta dal regolamento, con la pagina per verificarla.Chiedi all'assistente per le regole
- Trova persone con cui giocarloClub, serate di gioco ed eventi vicino a te che portano questo gioco in tavola.Vedi gli eventi
Dati del gioco (giocatori, durata, età, crediti) da BoardGameGeek.